When repairing or cleaning a slicer, always be careful and active in your work. A small mistake when repairing or cleaning a slicer can cause a lot of damage. Repairing a slicer can be a daunting task. It is important to take proper safety precautions as these machines run on electricity and contain sharp blades.
how to repair meat slicer? The following steps provide an overview of assessing the damage, obtaining the necessary tools and materials, disassembling the machine, replacing damaged parts or components, reassembling the machine, testing its performance, and adding lubricant.
By following these steps, you will successfully repair your slicer so that it is safe and ready to use again.

1. Assess the Damage:
Before beginning repairs on your meat slicer, it is essential to determine what damage needs to be fixed. Is there a part that needs to be replaced? Is the motor not working properly? Identifying the issue beforehand can help you better prepare for the repair process.

2. Gather Required Tools and Materials:
When you identify the damaged part of the slicer, you collect the tools for repairing the damaged part. Once you have determined what needs to be repaired, gathering all of the necessary tools and materials for the job is essential. This may include screwdrivers, pliers, lubrication oil, replacement parts or components etc.
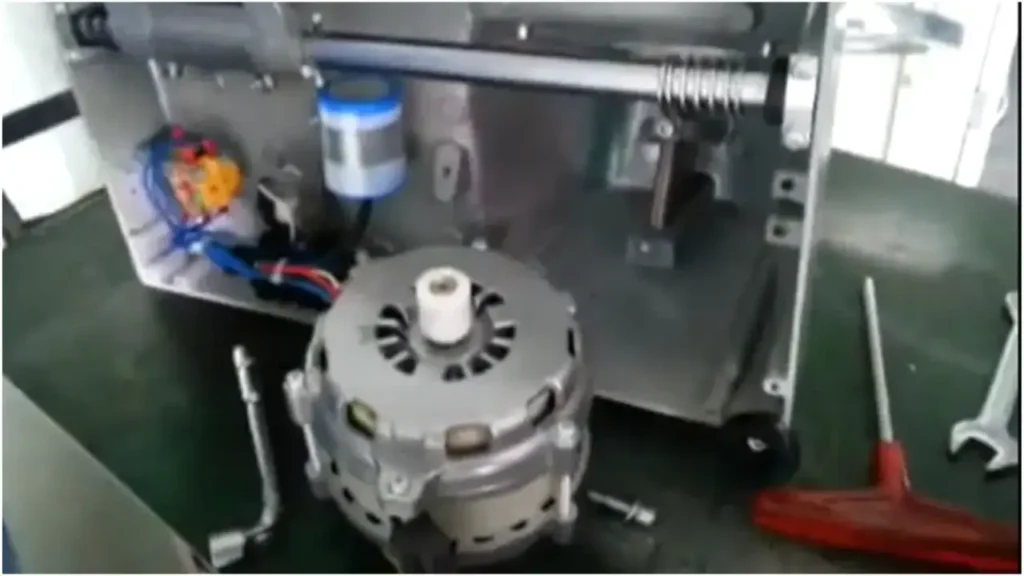
3. Disassemble Machine:
Before disassembling, take photographs or make notes so it will be easier to reassemble later. Start by removing any visible screws or bolts holding the Machine together, then carefully lift and remove any covers/shields as needed until you have access to the internal components.
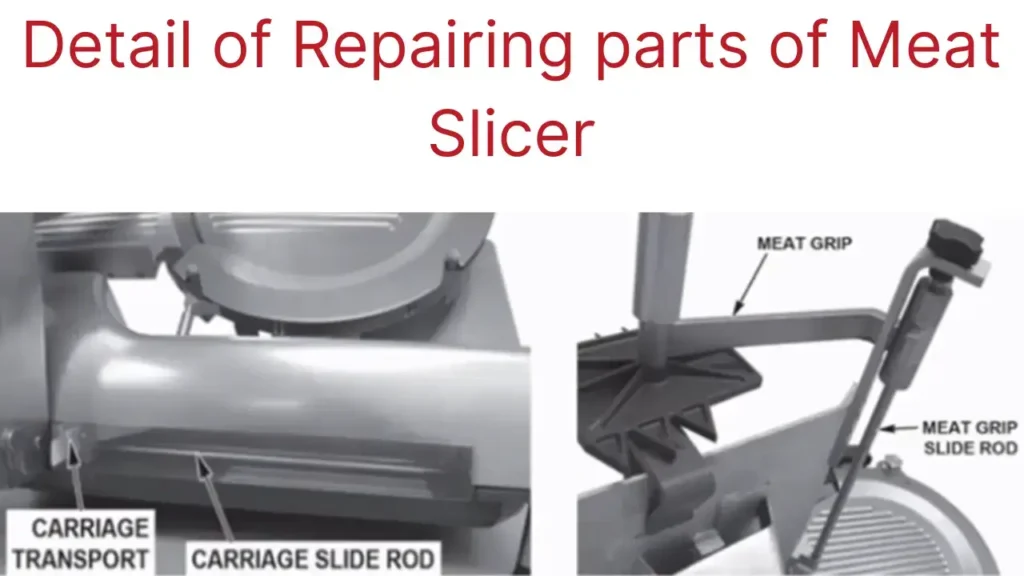
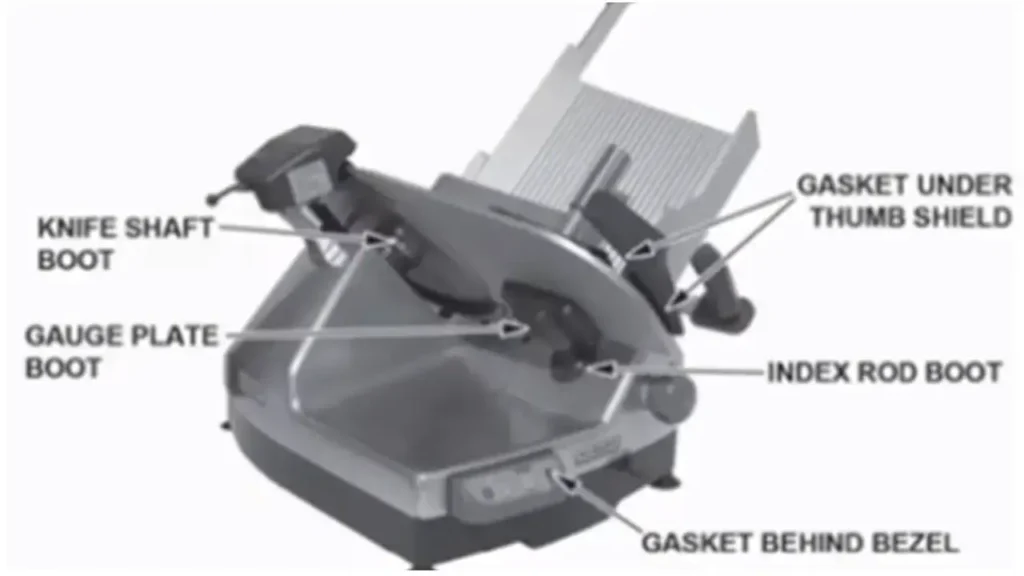
4. Replace Parts or Components:
If damaged parts or components need to be replaced, use the notes and photographs taken in the previous step as a reference guide. Make sure that all of the replacement parts match up with what you removed.
5. Reassemble the Machine:
After repairing the slicer machine, you must carefully reassemble all the parts. Once all the components have been replaced, carefully assemble the Machine according to your notes and photographs taken earlier.
6. Test for Performance:
You must check the Machine after it is repaired. After reassembling, it is vital to test for performance. Check for any electrical issues, and ensure that the motor runs properly and that all of the blades are functioning correctly before using the slicer again.
7. Add Lubrication:
Lastly, add Lubrication to any moving parts. This will help keep your meat slicer functioning correctly and prevent additional damage in the future. At the end of repairing and assembling, give the Lubrication to all parts of the Machine. It’s beneficial for machine work.
Conclusion:
By following these steps, you should be able to successfully repair your meat slicer so that it is safe and operational again. Always take safety precautions when working with electrical equipment and sharp blades, and seek professional assistance.
Frequently Asked Questions?
What type of tools do I need to repair my meat slicer?
You will need screwdrivers, pliers, lubrication oil, replacement parts or components etc.
Do I need to take safety precautions when repairing a meat slicer?
Yes, always take the necessary safety precautions as these machines are powered by electricity and contain sharp blades. Seek professional assistance if needed.
How often should I add Lubrication?
Adding Lubrication to any moving parts will help keep your meat slicer functioning correctly and prevent additional damage in the future, so it is recommended that you check frequently and add more as necessary.
What should I do if I’m having trouble reassembling the Machine?
Make sure to refer to any notes and photographs taken in the previous steps as a reference guide, or seek professional assistance if needed.
How can I make sure that my slicer works properly after repairs?
After reassembling, it is essential to test for performance and check for any electrical issues, make sure that the motor runs properly and that all of the blades are functioning correctly before using the slicer again.